1. GettingStarted
1.1. Register
On the top menu

click Register. Then a Registration screen
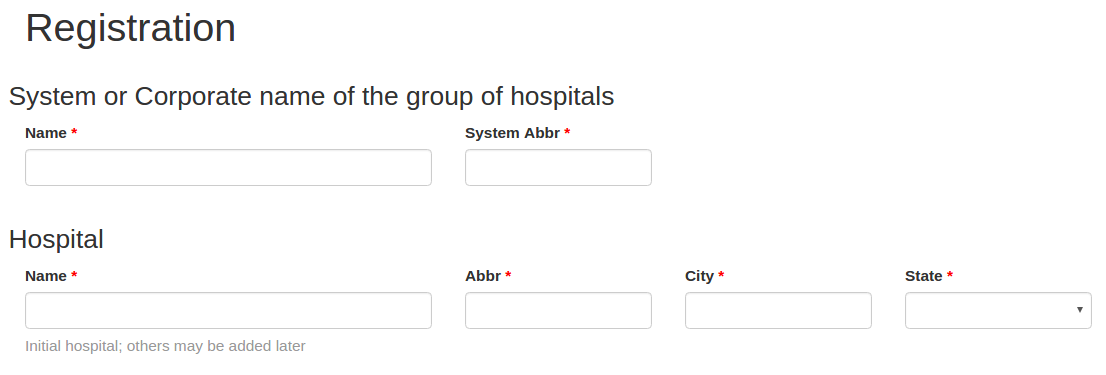
requests some identifying information. The System name is the corporate name to which your hospital belongs. Several performance statistics are calculated for all hospitals within the same System or corporate name.
The Hospital name is the physcial building in which these procedures are performed. A summary calculation of all clinicians within a hospital is calculated.
The next item
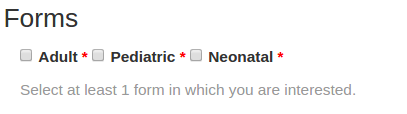
refers to the type of patient for which the precedural data is collected. There is some differences in the questions among them.
The next section
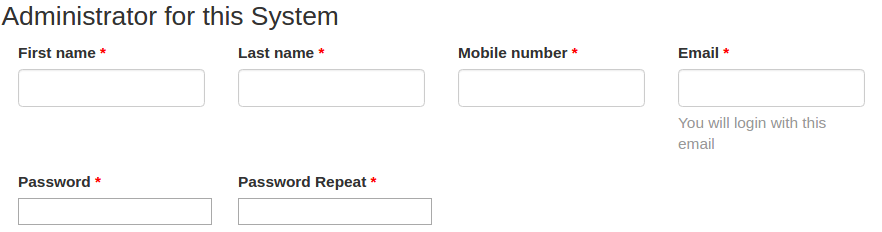
Identifies the person who will login and administer this application for the entire corporate system. Some tasks include adding additional hospitals and additional users of this application.
After completing the form and clicking Create, will result in this confirmation message

on a successful submission. You should immediately receive a email and text message to verify your email address.
1.2. Verify email
You should receive an email similar to
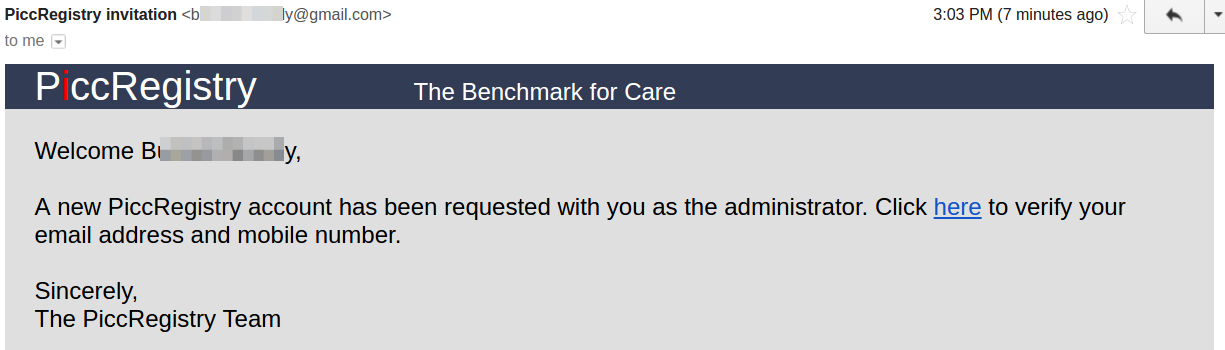
Check on the here to open a verifcation screen.
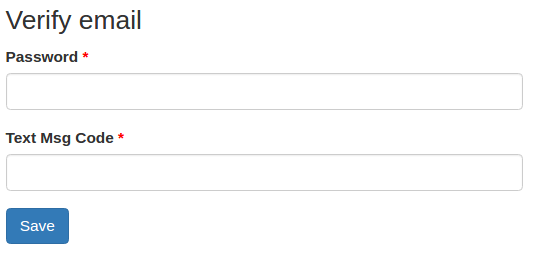
Enter the password you created on the Registration screen and the 6 digit code in the text message sent to you. Click Save and if success you will get this confirmation

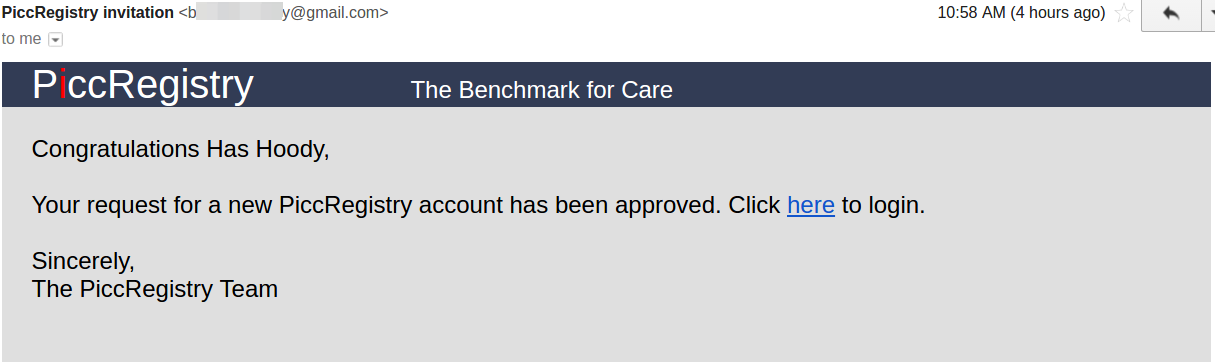
1.4. Login
Click the Login men item
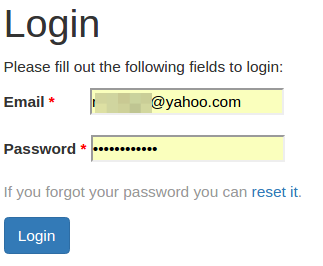
Since there are no previously entered surveys for your Hospital, the initial screen will be Create a new survey

1.5. Enter first survey
A blank survey form will be displayed
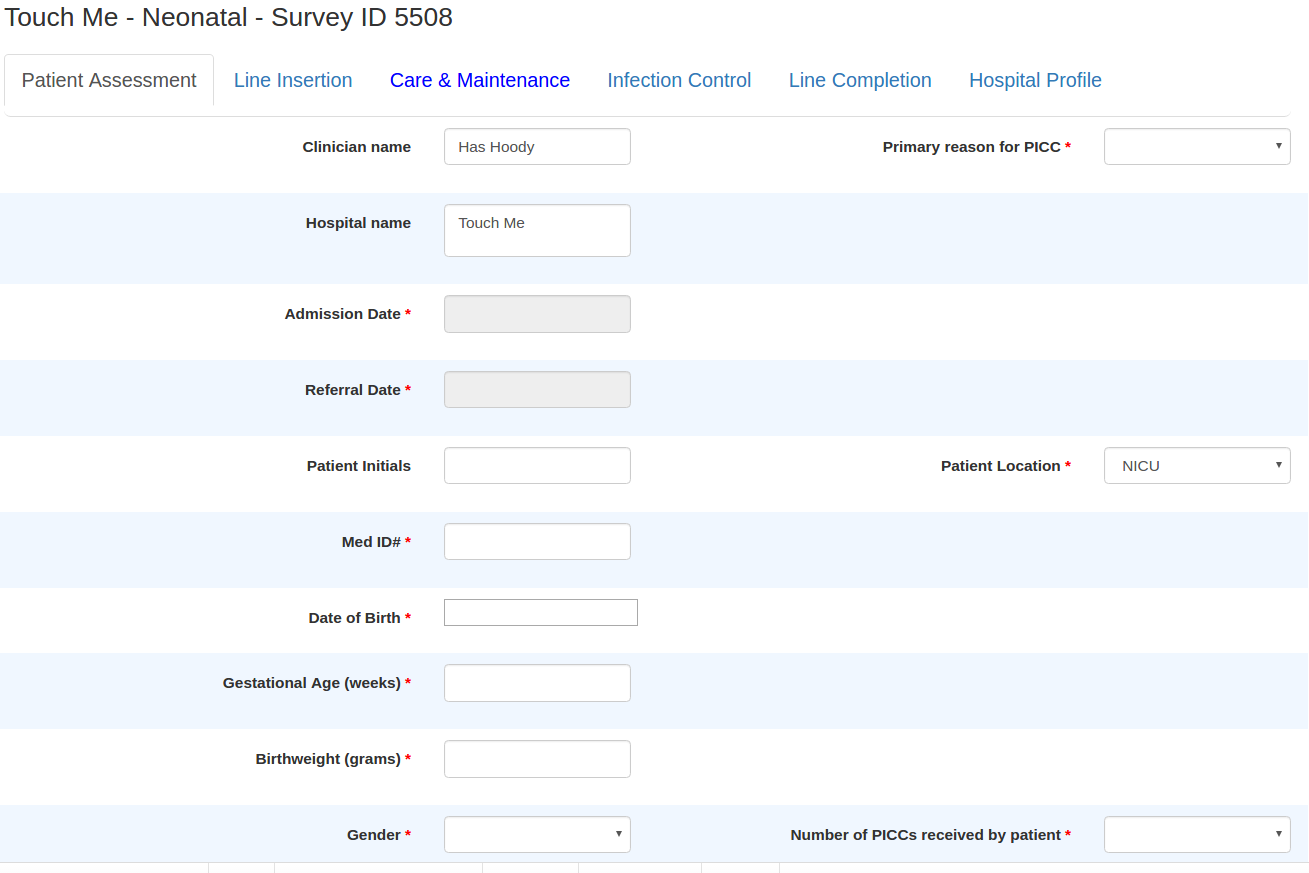
The Clinician name and Hospital name will be the one chosen in the previous create new form step. The rest of the fields will be blank. These fields marked with  are required and Save will not occur until all required fields have been satisfied.
2. Set default values for some survey questions
From the main menu click on Admin and then
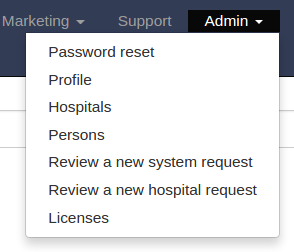
click on Hospitals.

Hospitals in your system are shown. Click on Defaults associated with the desired hospital.

A list of forms or licenses, is showm. Click onEdit of the appropriate form. A survey form will be shown with all fields visible. After selecting values for any of the questions, click Save prior to leaving the current tab.
3. Add another user
From the main menu click on Admin and then
click on Persons.
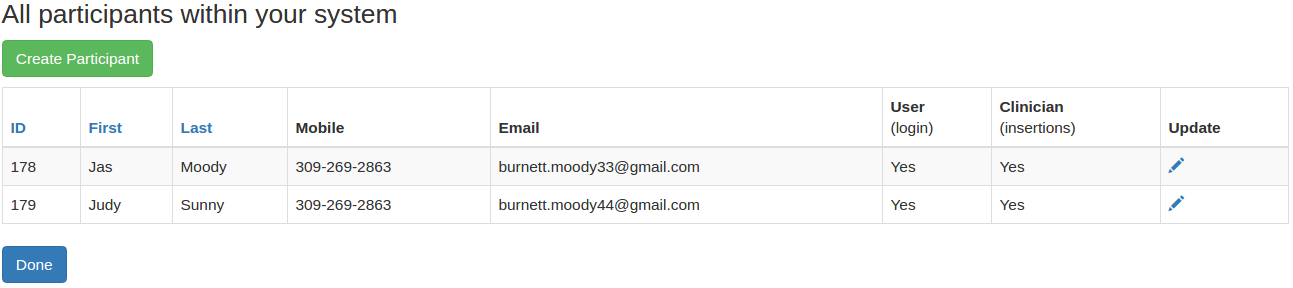
To add a new person, click on Create Participant.

Enter the required information and click Continue.

- User
-
If the new person can login to this application, select Yes.
- Create surveys for
-
If this person can login and enter surveys for other people than their self, then check check then in this field.
- Report on these
-
If this person can login and view reports for other people than their self, then check check then in this field.
- Clinician
-
If this person will perform insertion procedures then select Yes.
- Hospitals
-
Check the hospitals in which this person may perform insertion procedures.
4. Add another hospital
From the main menu click on Admin and then
click on Hospitals.
Hospitals in your system are shown. Click on Create Hospitals.
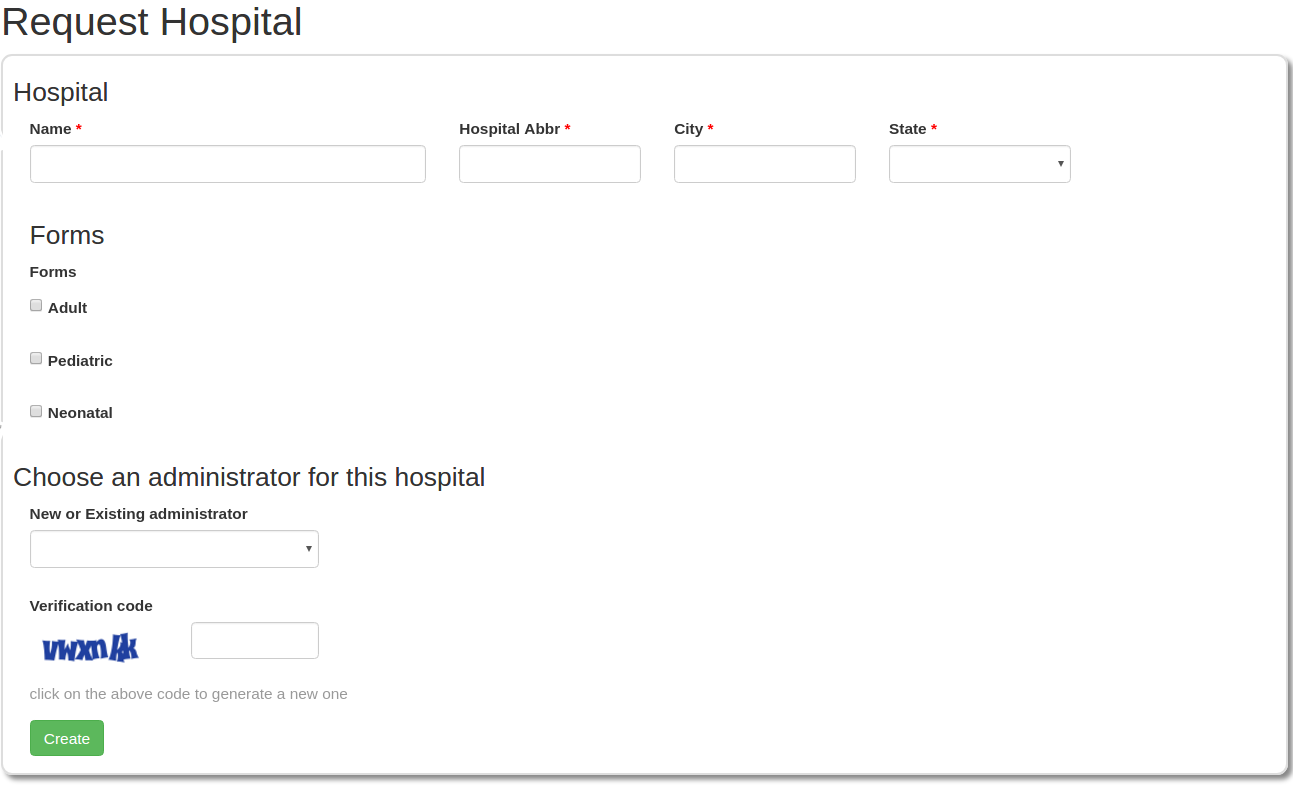
If you choose a new administrator, then enter the additional information. After submitting Create the form, it will be appoved or rejected. If you choose a new administrator, they will receive a verification email requiring the security text message code and requesting their new password.
5. Contact us
On the main menu

click on Support
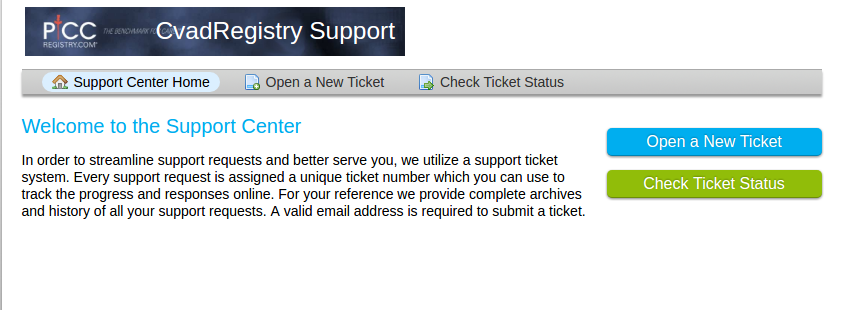
Click on Open a New Ticket and select a topic from Help Topic
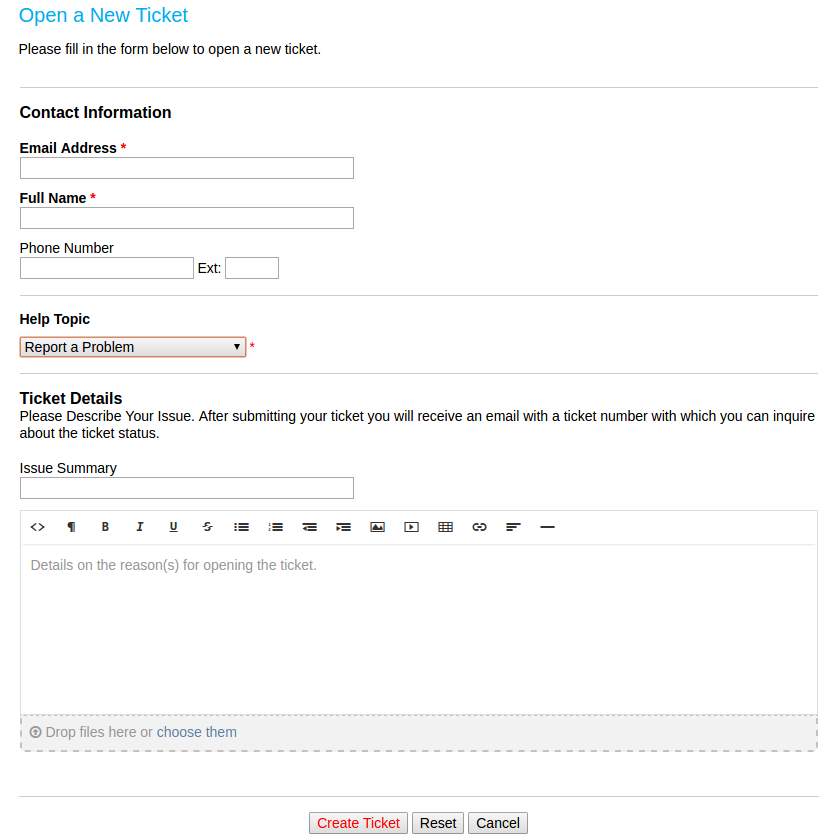
Fillin the fields. Please specify the screen you were on when the problem occurred. Also specify any message you received.
Click Create Ticket.
You will receive a confirmation email with your ticket number. You can use your email address and ticket number to check on the status of your problem by clicking on Check Ticket Status.
6. Purchase or Renew a license
On the main menu
click on Admin and then
click on Hospitals.
Hospitals in your system are shown. Click on License associated with the desired hospital.
There are 3 parts to this screen.

The Active License section shows any currently active licenses and the expiration date and days remaining. The license can be renew by the Renew.